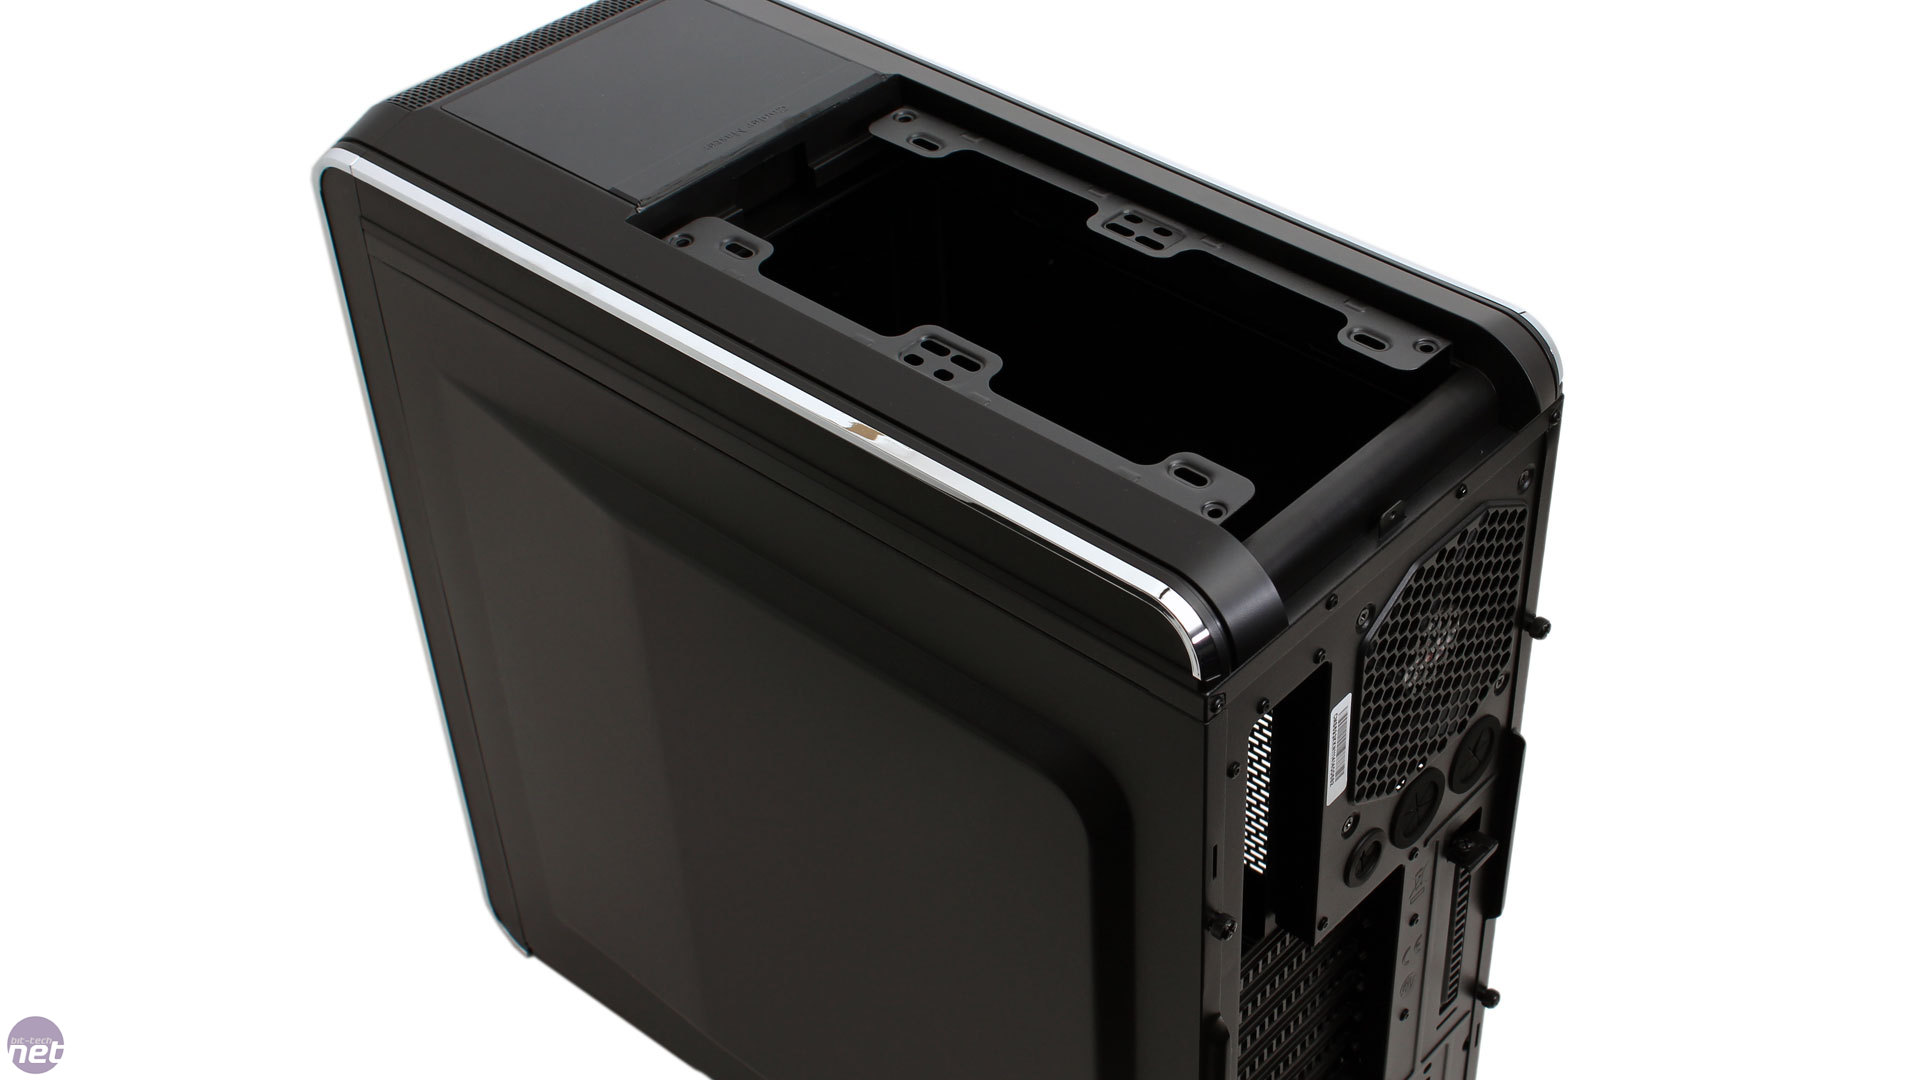
Interior
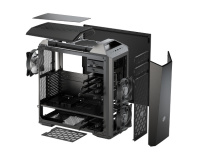
The side panels are held in place with thumbscrews and sport small handles for easy removal. They do use notches and rails rather than a superior hinged design to attach, but that's the norm at this price. Meanwhile, the front panel will come off with a firm tug, but both it and the roof panel are better removed from within the chassis, where it's easier to release the clips that hold them down. This is a minor irritation, but the roof will only need to come properly off if you're installing a 200mm fan, as 140mm and 120mm fans only require the release of the top mesh section.

Click to enlarge
The CM 690 III's interior is kitted out with the usual touches, including a couple of pre-installed motherboard mounts, a decently size CPU cooler cutout on the motherboard tray, thumbscrews on the PCI brackets and rubber standoffs for the PSU to sit on. The painted steel panels have just as good build quality inside as they do outside, and the edges are rounded and finger-friendly. Cooler Master has also modernised the internals a bit compared to before by outfitting the cable routing holes with rubber grommets and ensuring that all cables are sleeved in black, which will definitely be advantageous for those who opt for the windowed version.
Optical drives are installed using simple, single-sided, plastic tool-free clips and as before these function without issue.
Click to enlarge
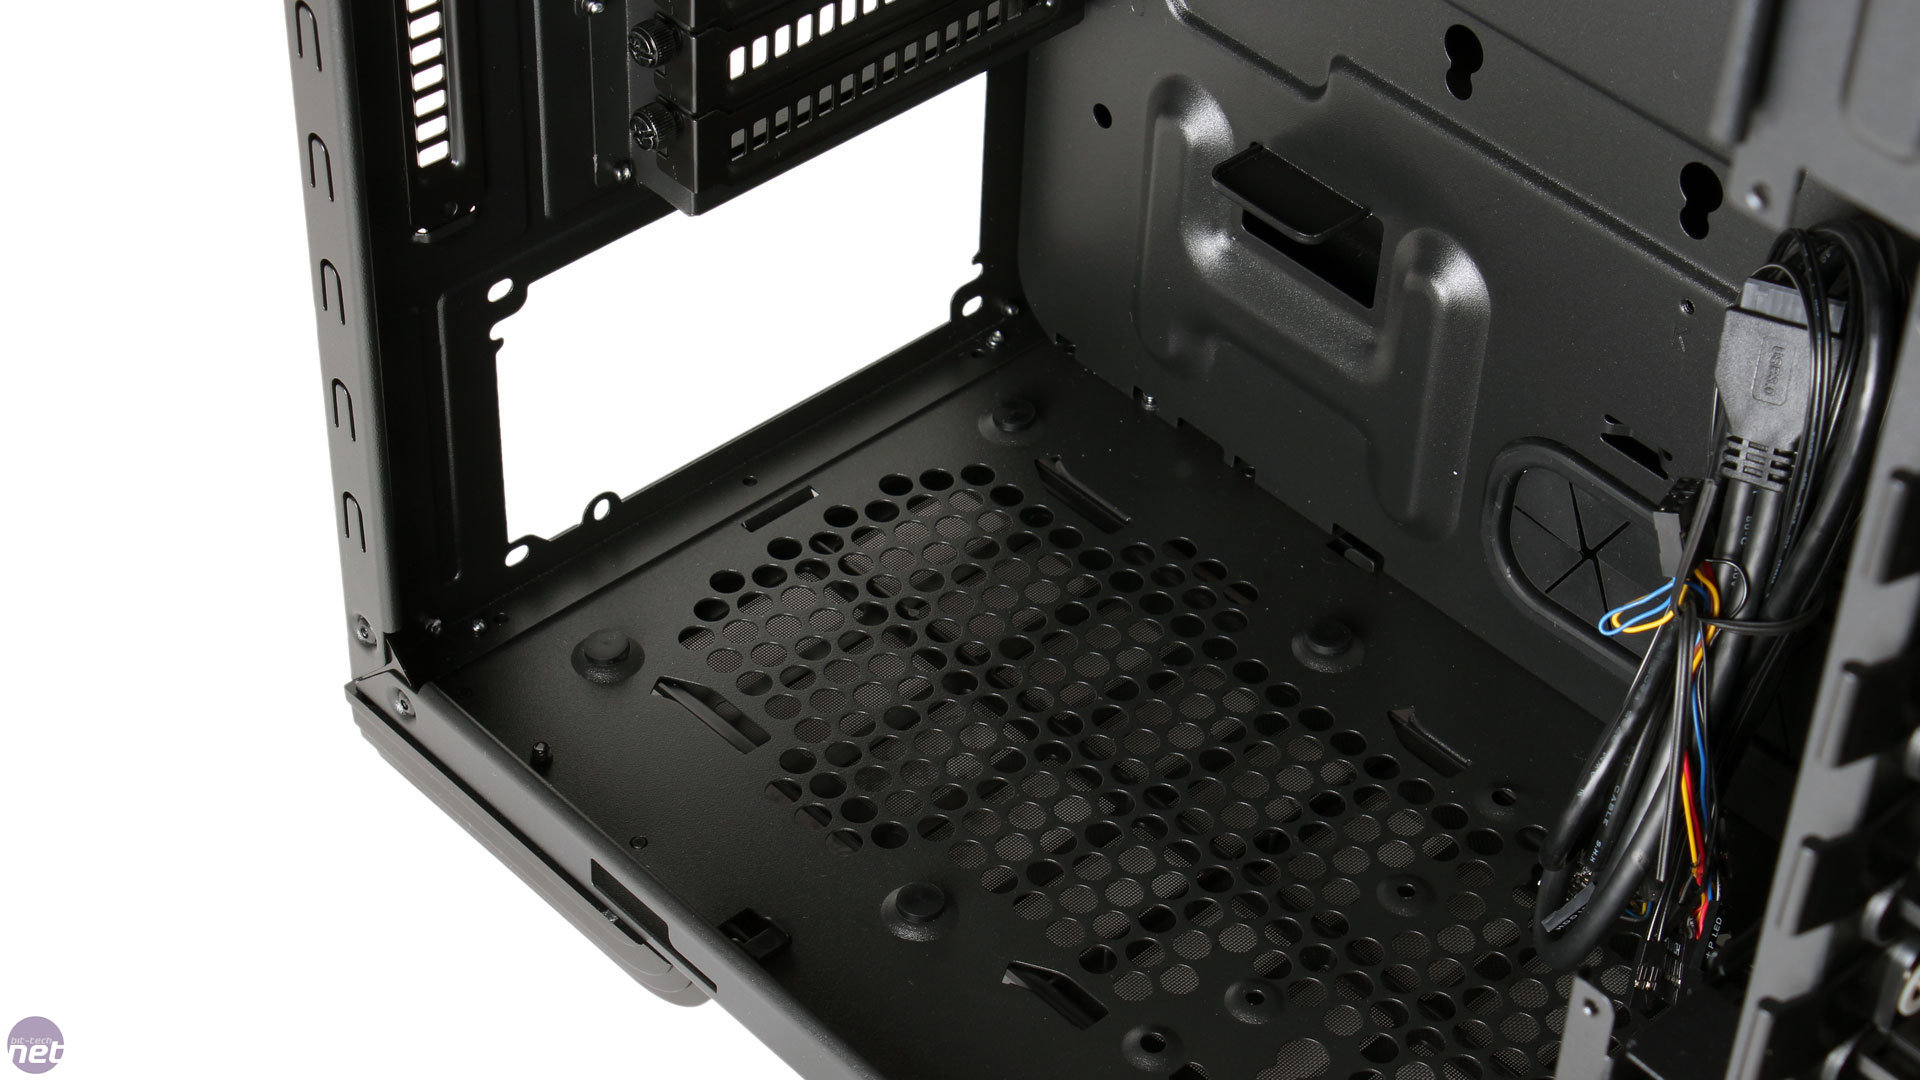
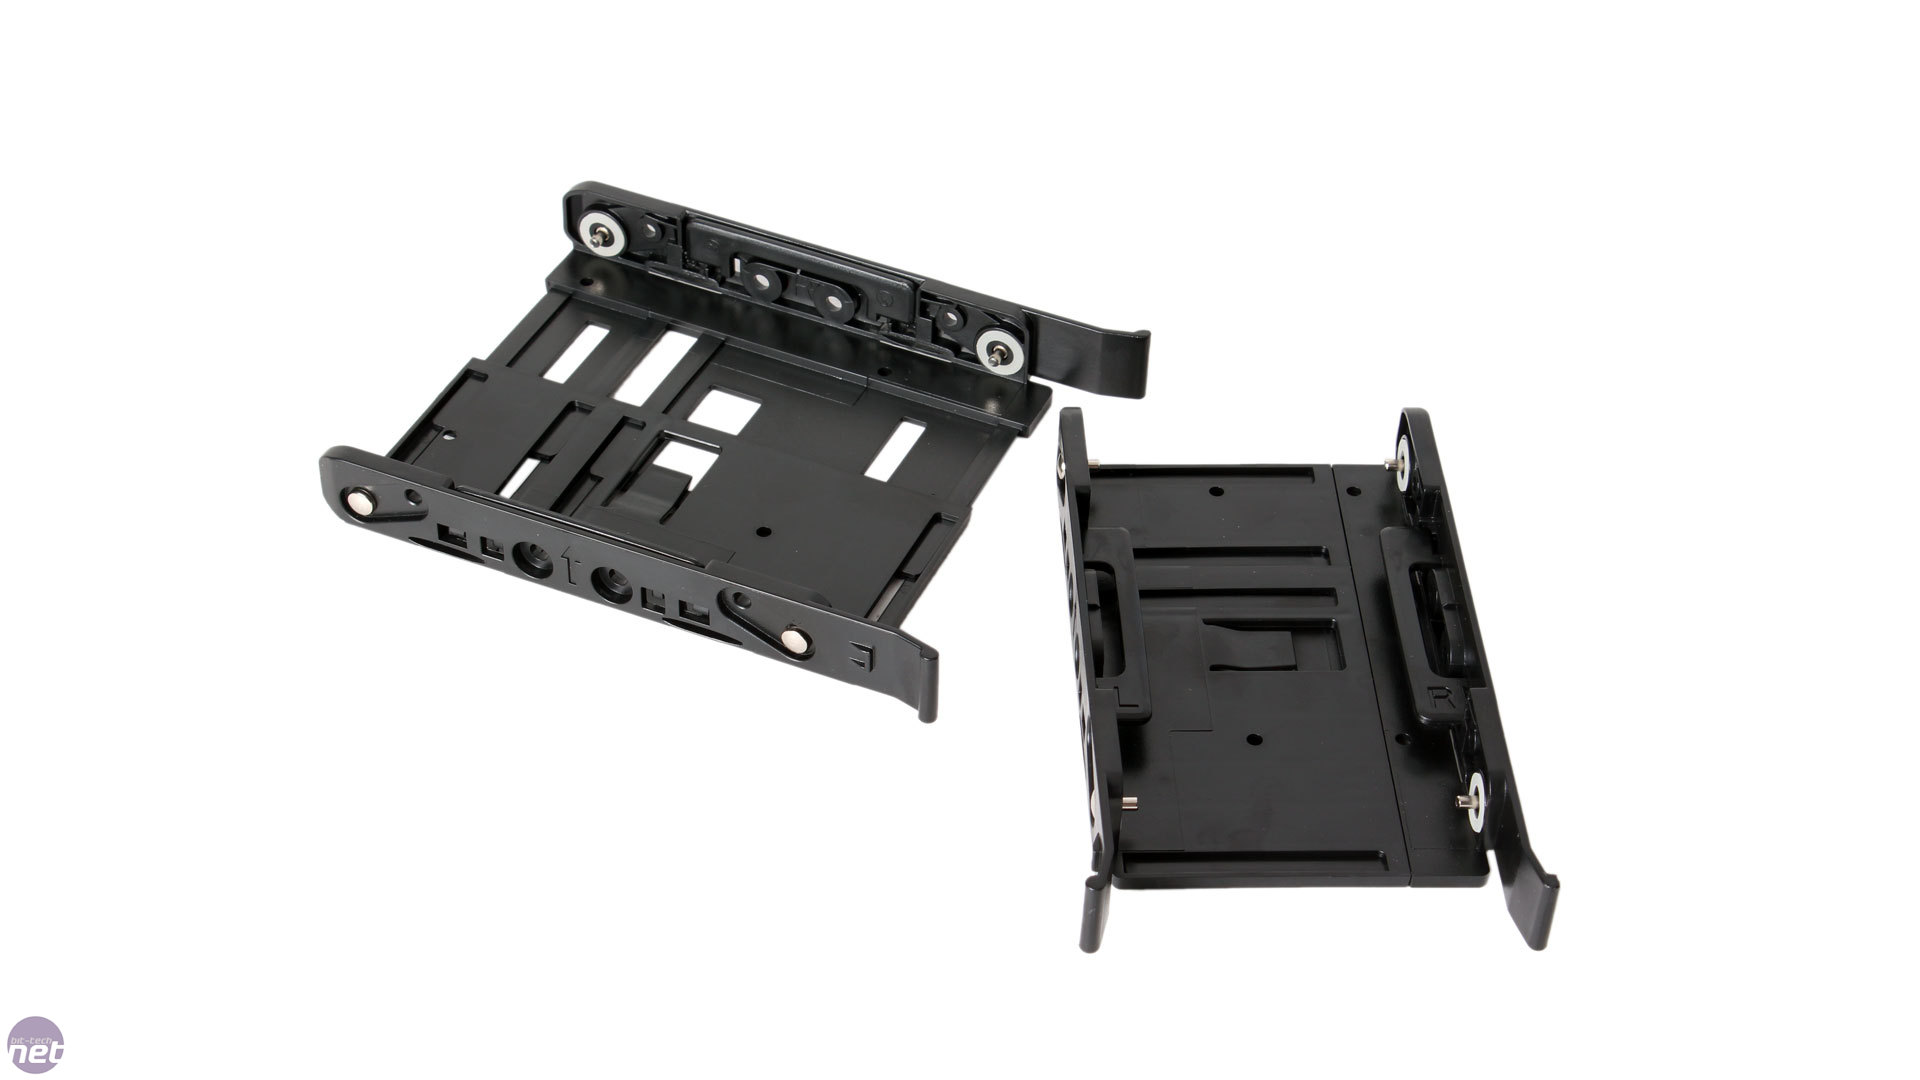
As for internal drives, there are now seven drive bays rather than six – another advantage of culling optical drives. They're divided into cages of four at the top and three at the bottom. The drive trays themselves are plastic, but very sturdy, and have a rather unique design. In their open state they can hold 3.5-inch drives using the fitted pins (complete with anti-vibration rubber washers) or 2.5-inch drives using screws from beneath. This is standard stuff, but you can also close the trays up to a smaller size where they can only hold 2.5-inch drives, this time using screws from the side. The reason for this is that the inner wall of the upper drive cage can be expanded outwards to make it a 3.5-inch cage or left as it comes, a 2.5-inch cage, which also leaves you an extra 32mm of space for graphics cards – a neat compromise. It should also be noted that the aforementioned internal wall can also house a 120mm fan for increased internal airflow.
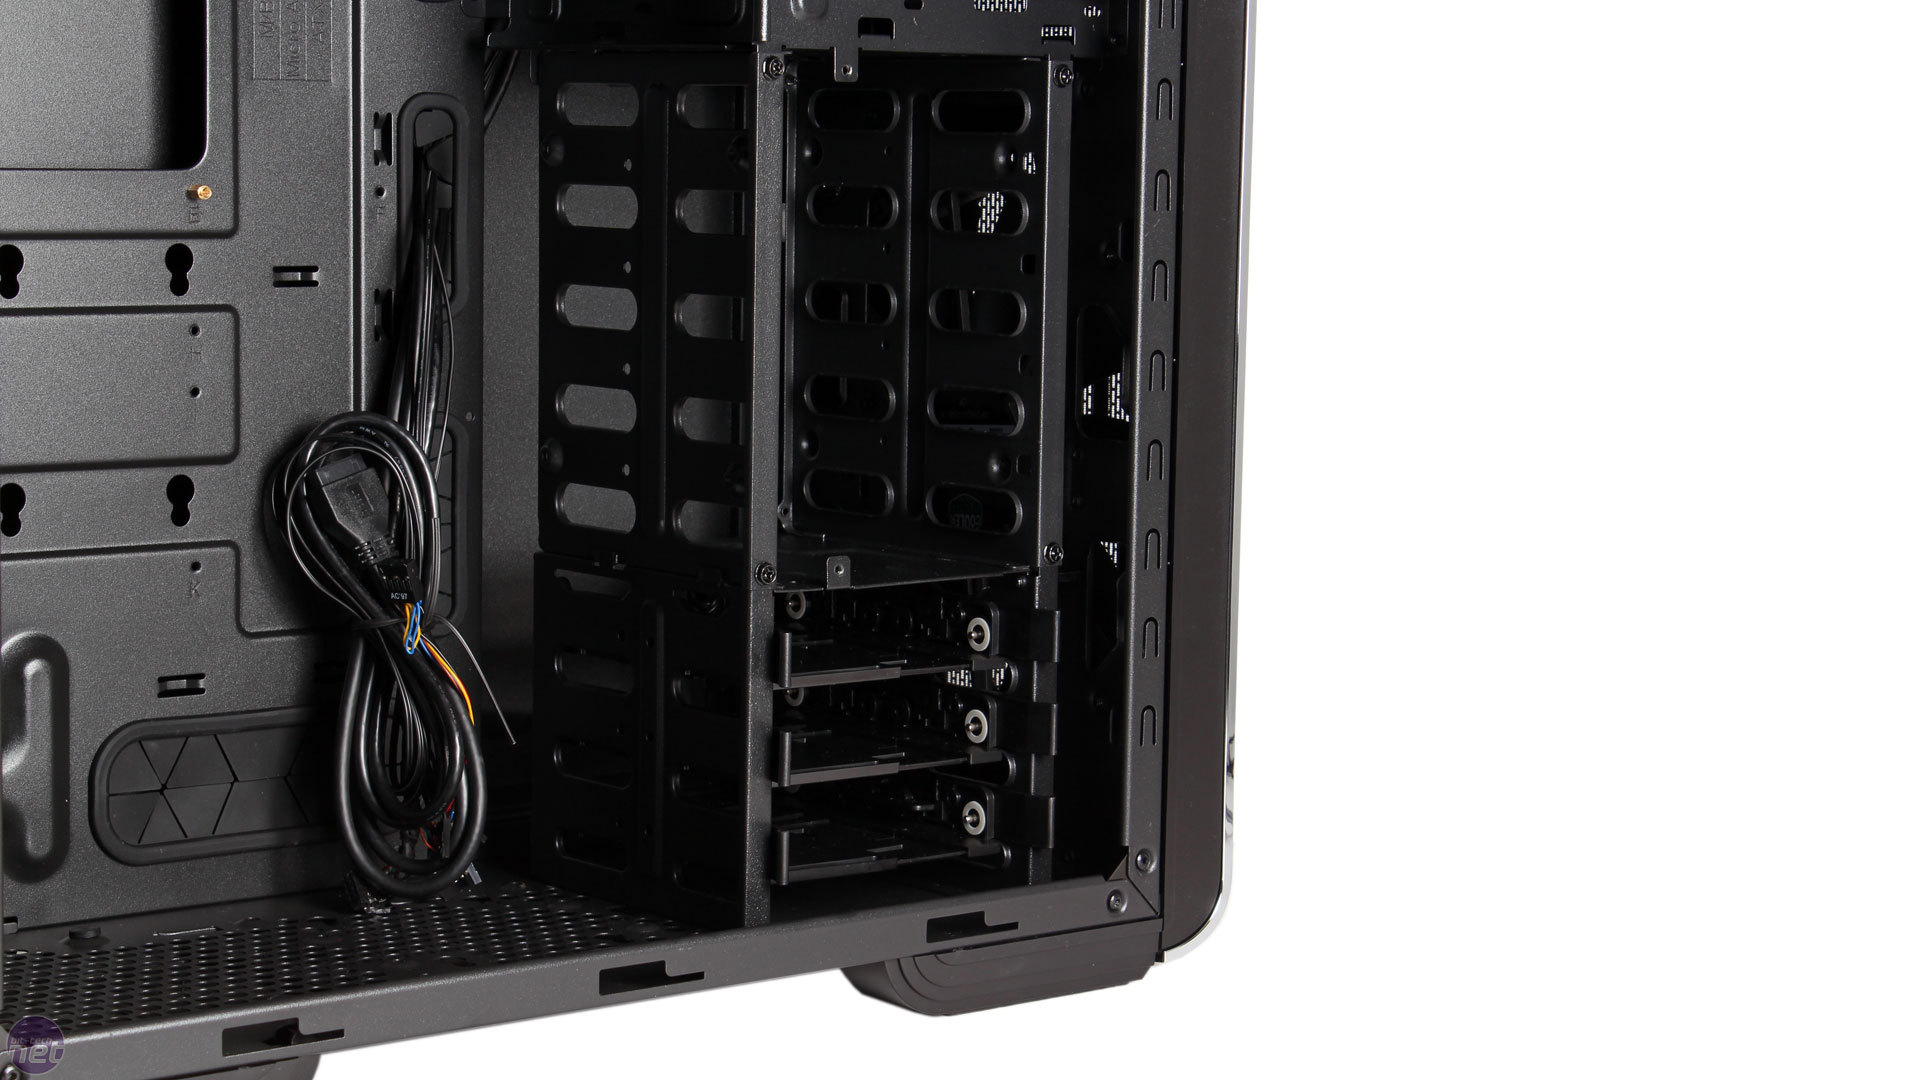
Click to enlarge - The internal drive trays and the upper drive cage can be expanded to cater to 3.5-inch/2.5-inch drives or collapsed to support 2.5-inch drives only
Beyond these seven internal drive mounting trays, there are three more areas where users can mount an SSD by attaching rubber washers (as shown) and sliding it into place. These include behind the motherboard tray, on the case floor and on the bottom of the optical drive cage. This is a good way to take advantage of spaces that often go unused, though there are some limitations, as the floor one prevents a fan being fitted there and the optical drive one prevents the use of either the lowest optical drive bay or the four-bay drive cage beneath, depending on which side you position the drive.


Click to enlarge
The cable routing holes are well placed and the grommets used are excellent, allowing plenty of cables through but staying firmly in place, although none are used on the holes above the motherboard tray. The motherboard is positioned quite close to the edge of the chassis, which is what gives the case 171mm of clearance for CPU coolers, but the extruded side panel means you still have loads of room to play with when stashing cables, and hooks and cable ties are supplied in generous portions.
240mm radiators can be used in both the roof and front mounts. Sadly, larger 280mm models aren't officially supported, but given that both locations have dual 140mm mounts it should still be possible, even if a call to Mr. Dremel is in order. Official clearance measurements aren't listed by Cooler Master, but with our expertise (OK, tape measure), we ascertained that there is around 65mm between the roof and edge of the motherboard – enough for a slimline radiator with fans.

Click to enlarge
As for the front, both drive cages can be removed to make way, though it's a tedious process involving a small army of screws that require access from both sides as well as the bottom and front of the chassis. This leaves you with room to install radiator set-ups as thick as you like, but no room for 3.5-inch drives. As such, you can also reposition the lower 3-bay cage further back as shown, which again leaves you with about 65mm of clearance – we have to wonder why Cooler Master didn't give us the option of having the cage even further back, as there's certainly room. Nevertheless, with the cage in place, you can install full thickness radiators here as fans can be fitted outside the core chassis (i.e. where the 200mm fan is by default) or a slimline radiator with push-pull fans.
RELATED ARTICLES


MSI MPG Velox 100R Chassis Review
October 14 2021 | 15:04


Want to comment? Please log in.