

Painting
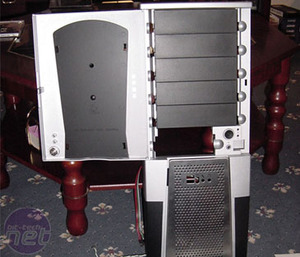
About two weeks after the design was finalised, the chassis arrived:
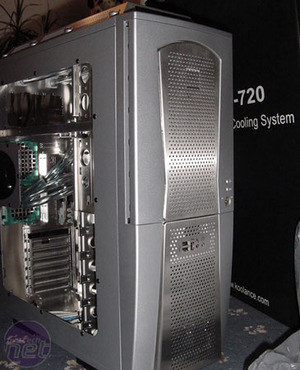
No disrespect to Koolance, but it looked as bland in the metal as I originally feared.

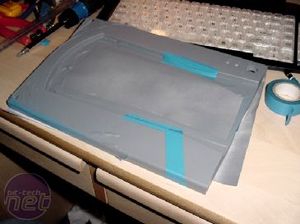
First thing first: PAINT. Stripping the chassis down to the bone I started working on the front bezel while hunting for what colours resembled the door best. Two rolls of blue electrical tape helped me mask off the areas that I didn't want spraying; however I did end up getting some on the silver itself. Not a problem though as nail polish remover soon got it off.
In hunting for what paint to use I discovered a small model shop down south of me that had the ENTIRE Tamiya range of paints. Tamiya paints rock - I used to use them when building Gundam kits years ago. They have a nice smooth finish that is easy to apply and quite durable. They also had the colours I wanted for the door: a TS-66 light pearl blue and a TS-66 IJN Grey (Kure). I also ordered some more TS-6 black and some Pearlescent clear coat to boot.
The other cans of paint finally arrived so it was off to finish spraying the door and radiator mounts. Typical that I should lose the camera charger while in the midst of painting up the door so there's no pics of that being done - sorry about that.


MSI MPG Velox 100R Chassis Review
October 14 2021 | 15:04


Want to comment? Please log in.