Installing the CPU Water Block

Click to enlarge
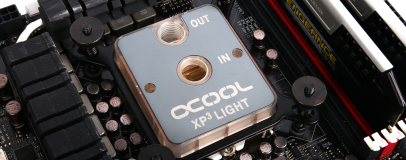
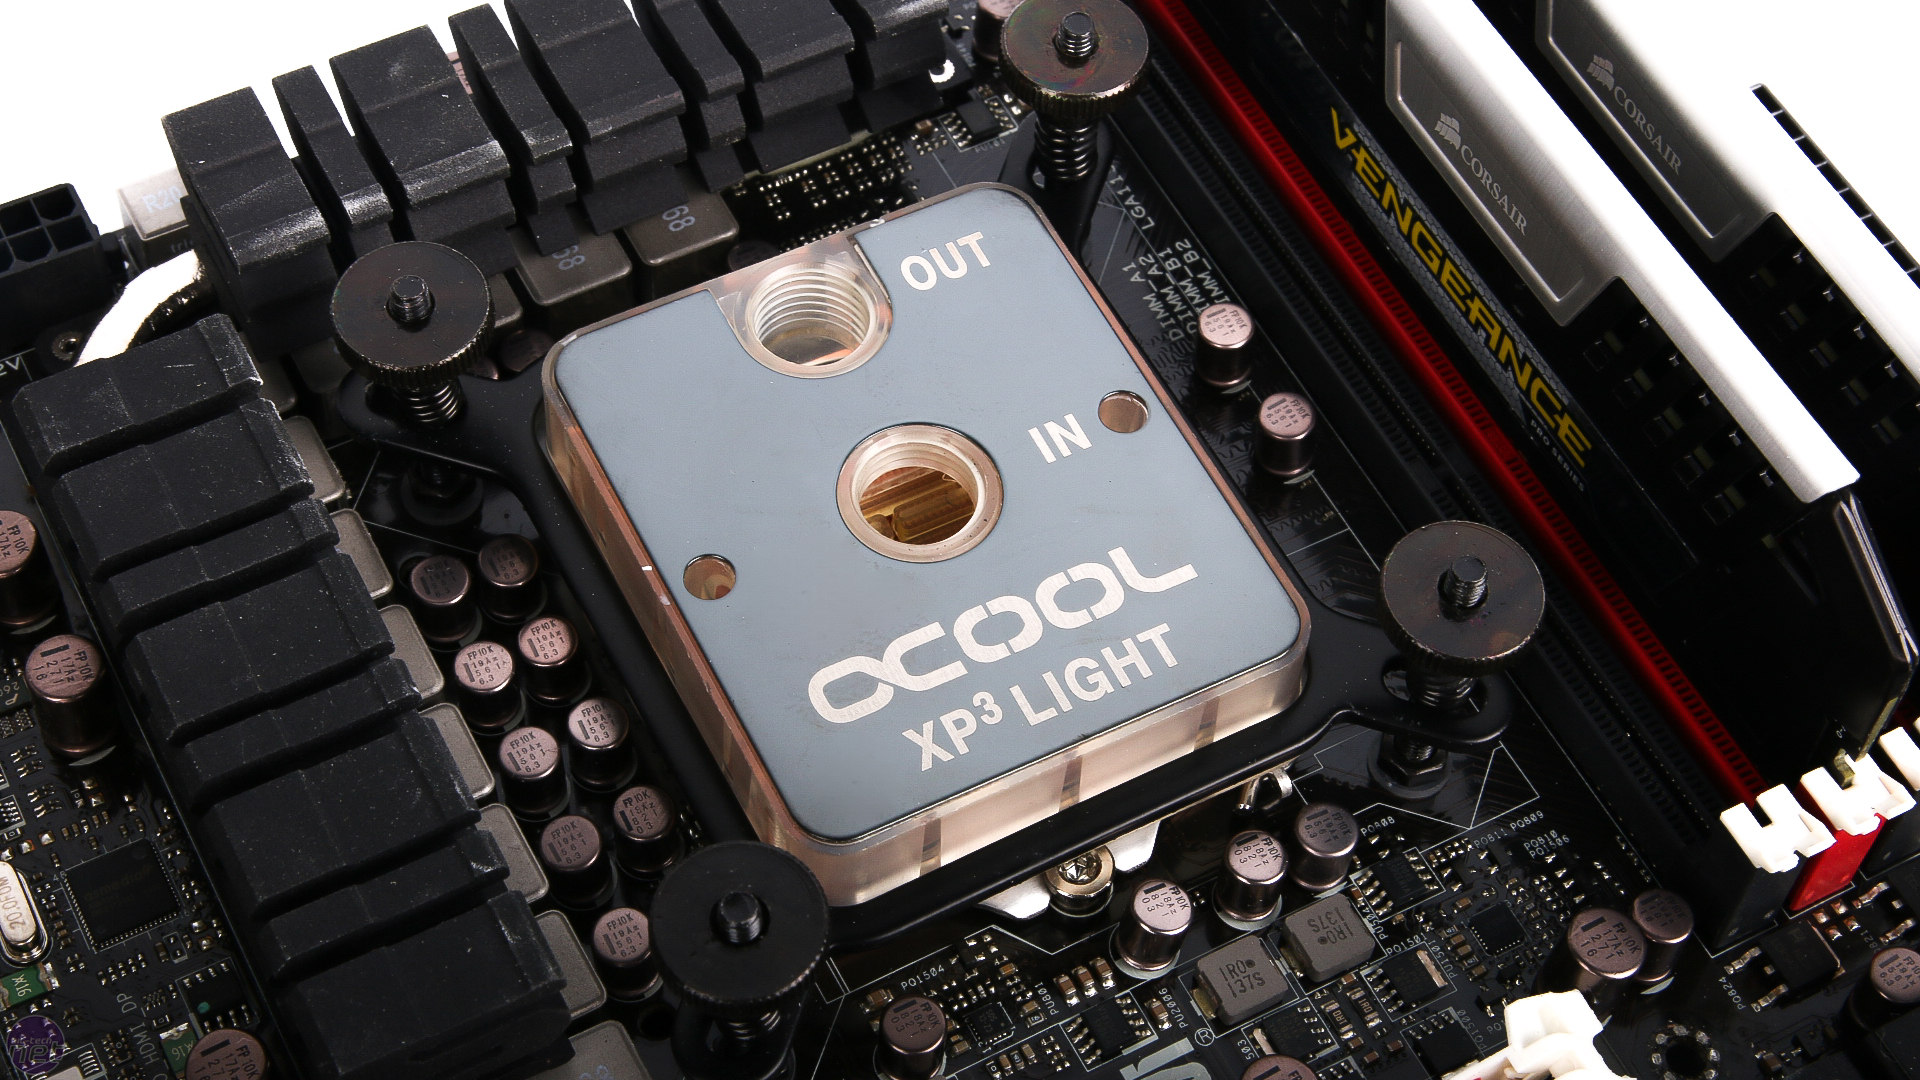
The water block uses a fairly simple mounting mechanism and, thanks to the small size of the water block itself, it's actually easier than most heatsinks. The Alphacool water block uses a backplate for AMD and Intel LGA115X systems, which is then secured on the socket side using thumb screws and springs.
Click to enlarge
As there are nuts holding the base of the screws in place it should be easy to install the water block without removing your motherboard - again, something you can't do with many heatsinks. You then just need to add the same pressure to each spring - just turn it as much as you can with your fingers. Also be sure to have the outlet above the inlet.
Click to enlarge
If your case sports an inverted layout, you still need to have the outlet at the top. This will allow any air in the block to be shifted by the coolant; otherwise it can get trapped, especially with some of the less powerful pumps.
Installing the Graphics Card Water Block
Click to enlarge
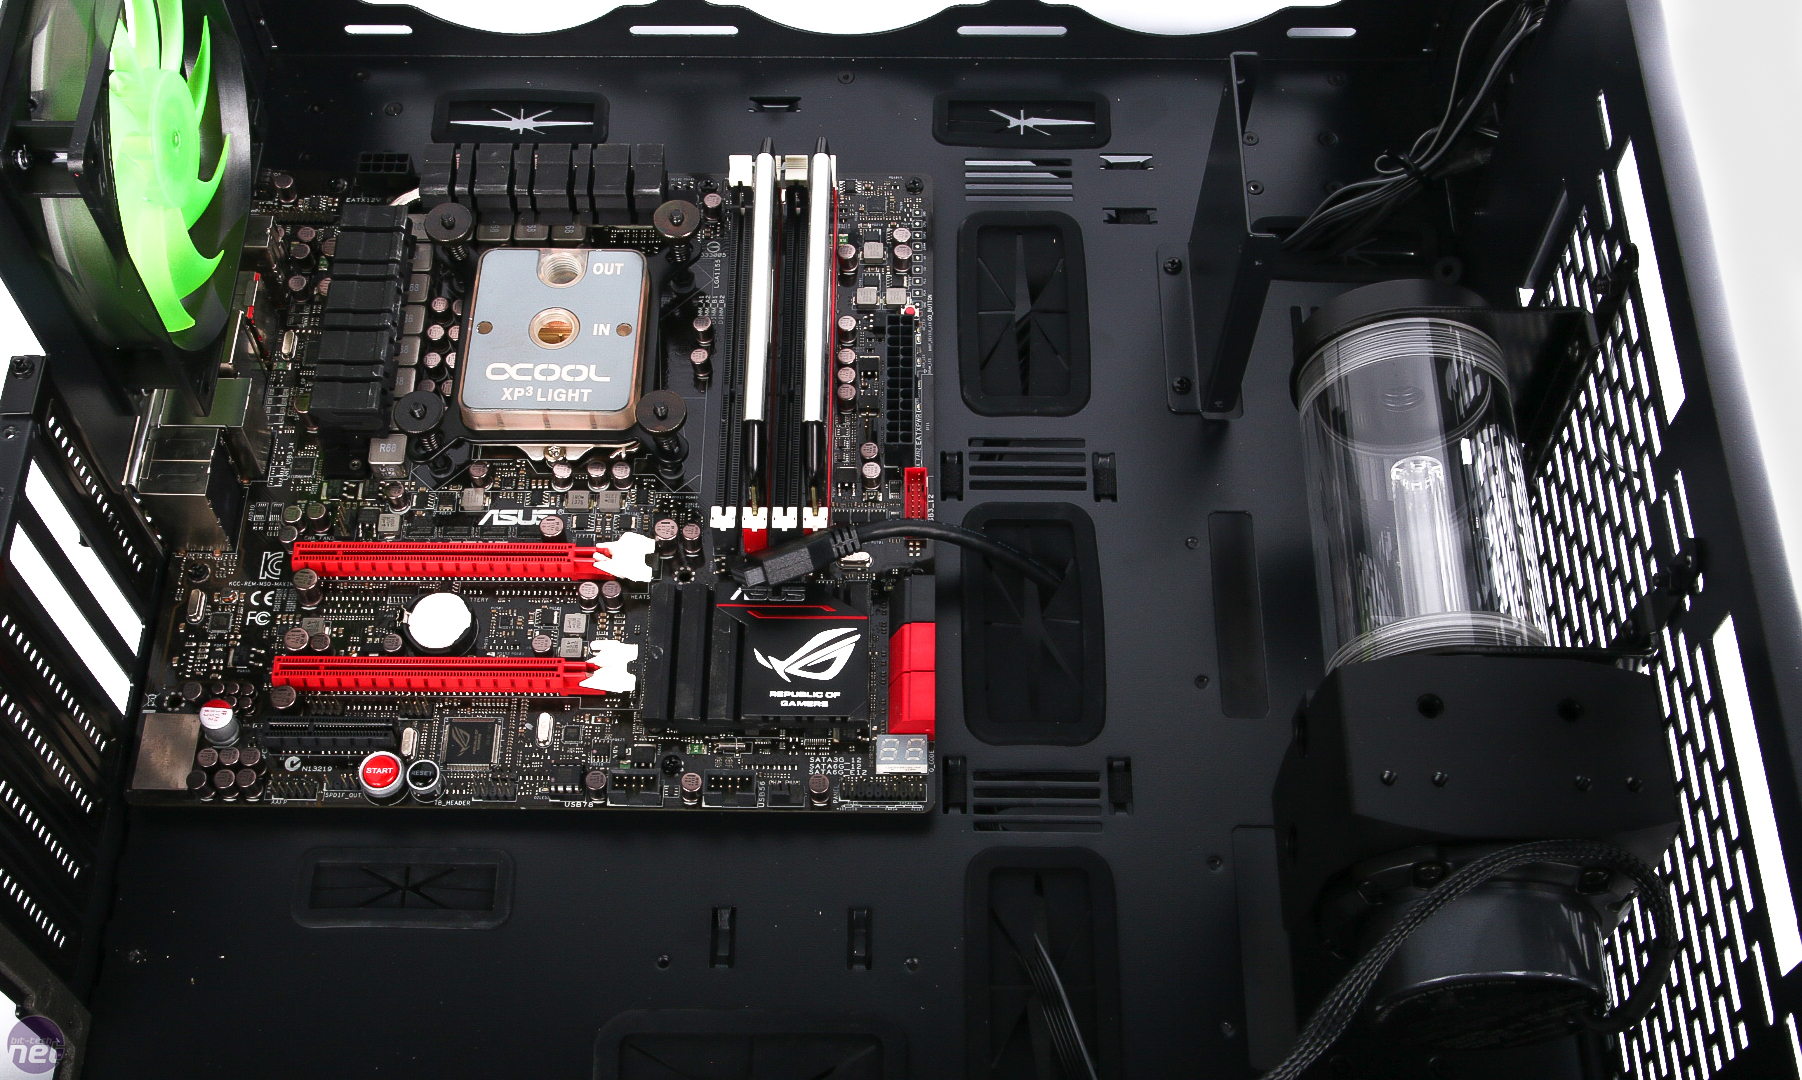
While you might want to go for a custom PCB and all-singing, all-dancing graphics card with a monster cooler, if you only intend to water-cool it, it can pay to get a reference model. Our Founders Edition GTX 1080 uses the same PCB as many other cards that use the reference blower cooler and it's this PCB that will give you the widest choice of water blocks.

Click to enlarge
You'll need to check with the water block manufacturer as to whether your graphics card model is supported - the likes of EK Water Blocks has an online configurator, which is very handy. You can also consider a GPU core-only waterblock, although the full-cover, PCB-dependant models look a lot nicer and give you memory and VRM cooling which is widely recommended, especially on higher-end cards that most people use in conjunction with water-cooling.
Click to enlarge
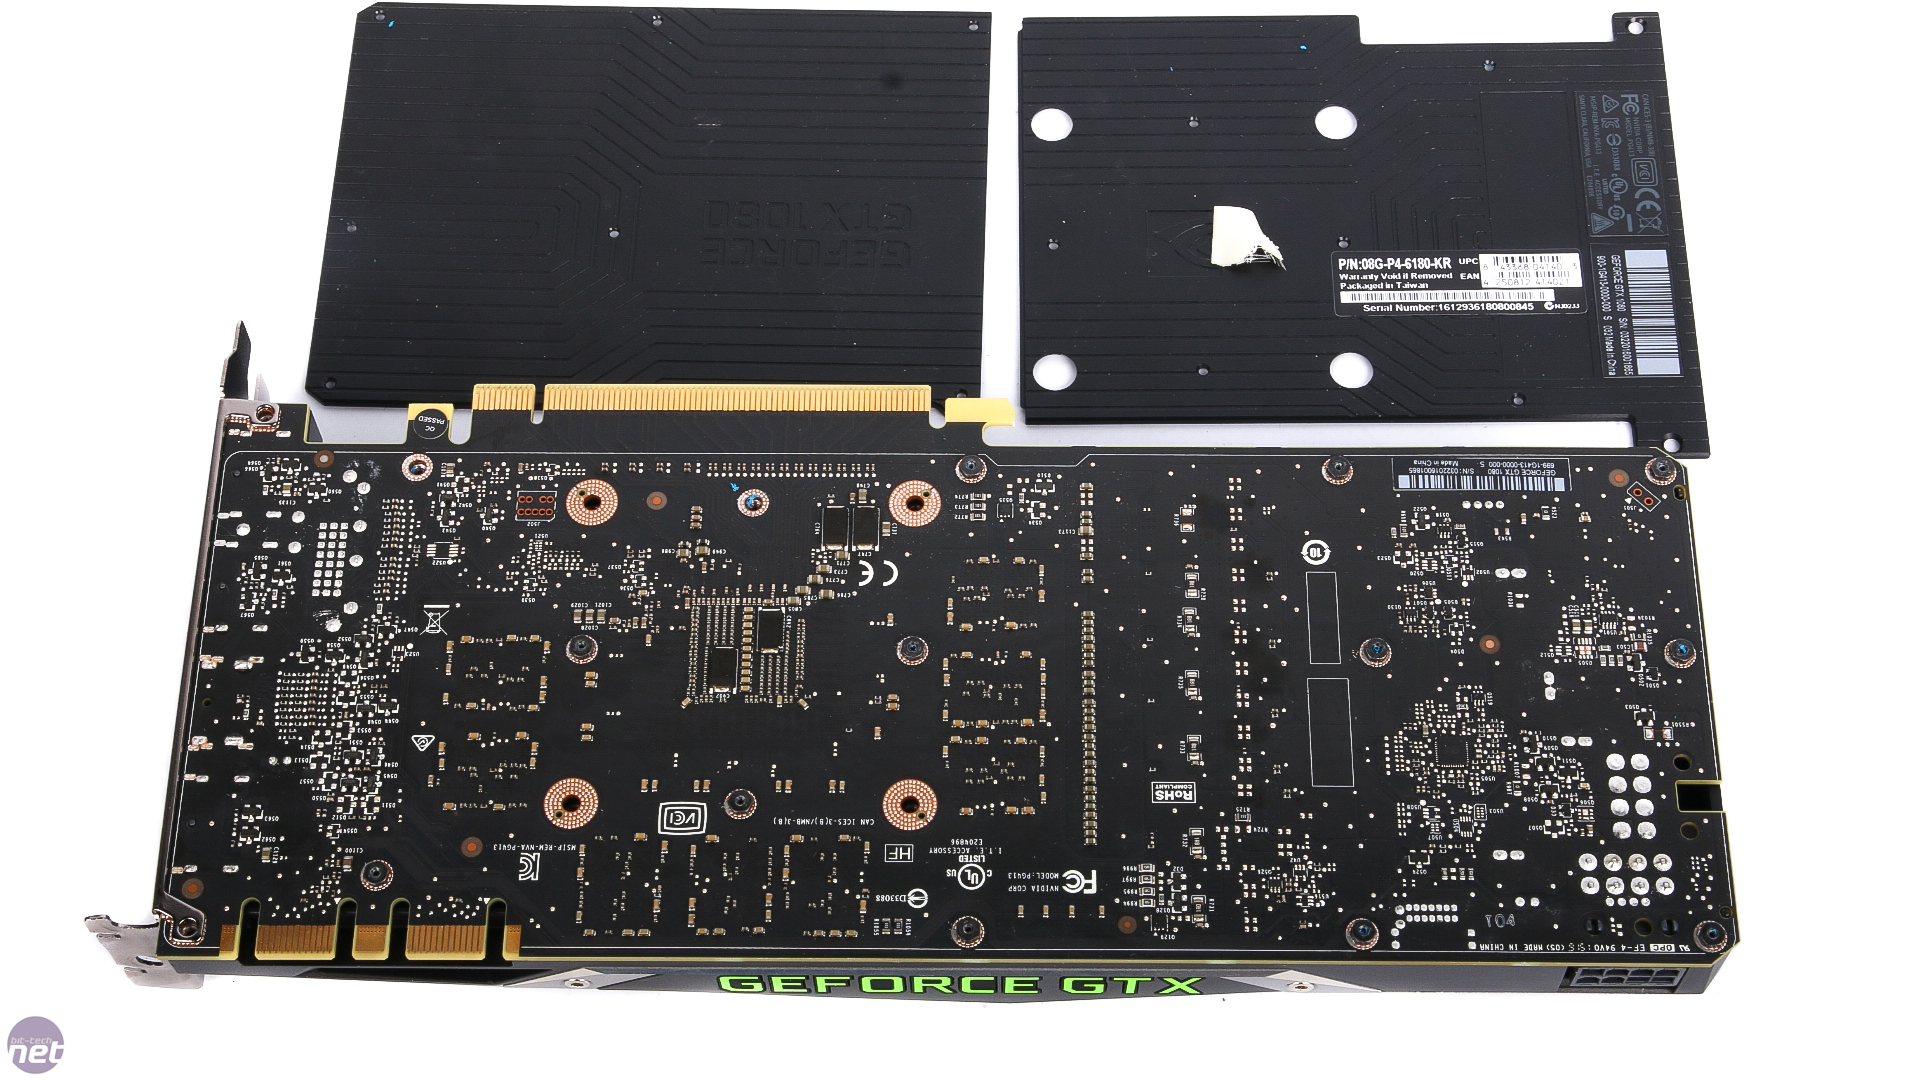
To remove the cooler, you'll need to jump through a few hoops. Firstly you need to remove the backplate by unscrewing the several screws holding the two sections in place. Then you'll need to deal with the rest of the screws, which are actually small nuts that largely secure the GPU core area. You'll need to use a small socket here - a decent precision screwdriver set will come in very handy or, if you have steady hands, a pair of pliers or adjustable wrench, but be extremely careful not to damage any of the nearby components.

Click to enlarge
With all the screws removed, you should be able to pop the cooler off but watch out for the cables - there's the cooler power cable and also the LED power cable to deal with first, both at the end of the PCB. Detach those, insert all the old screws back into the cooler and stow it away for a date with an auction site at some point in the future.
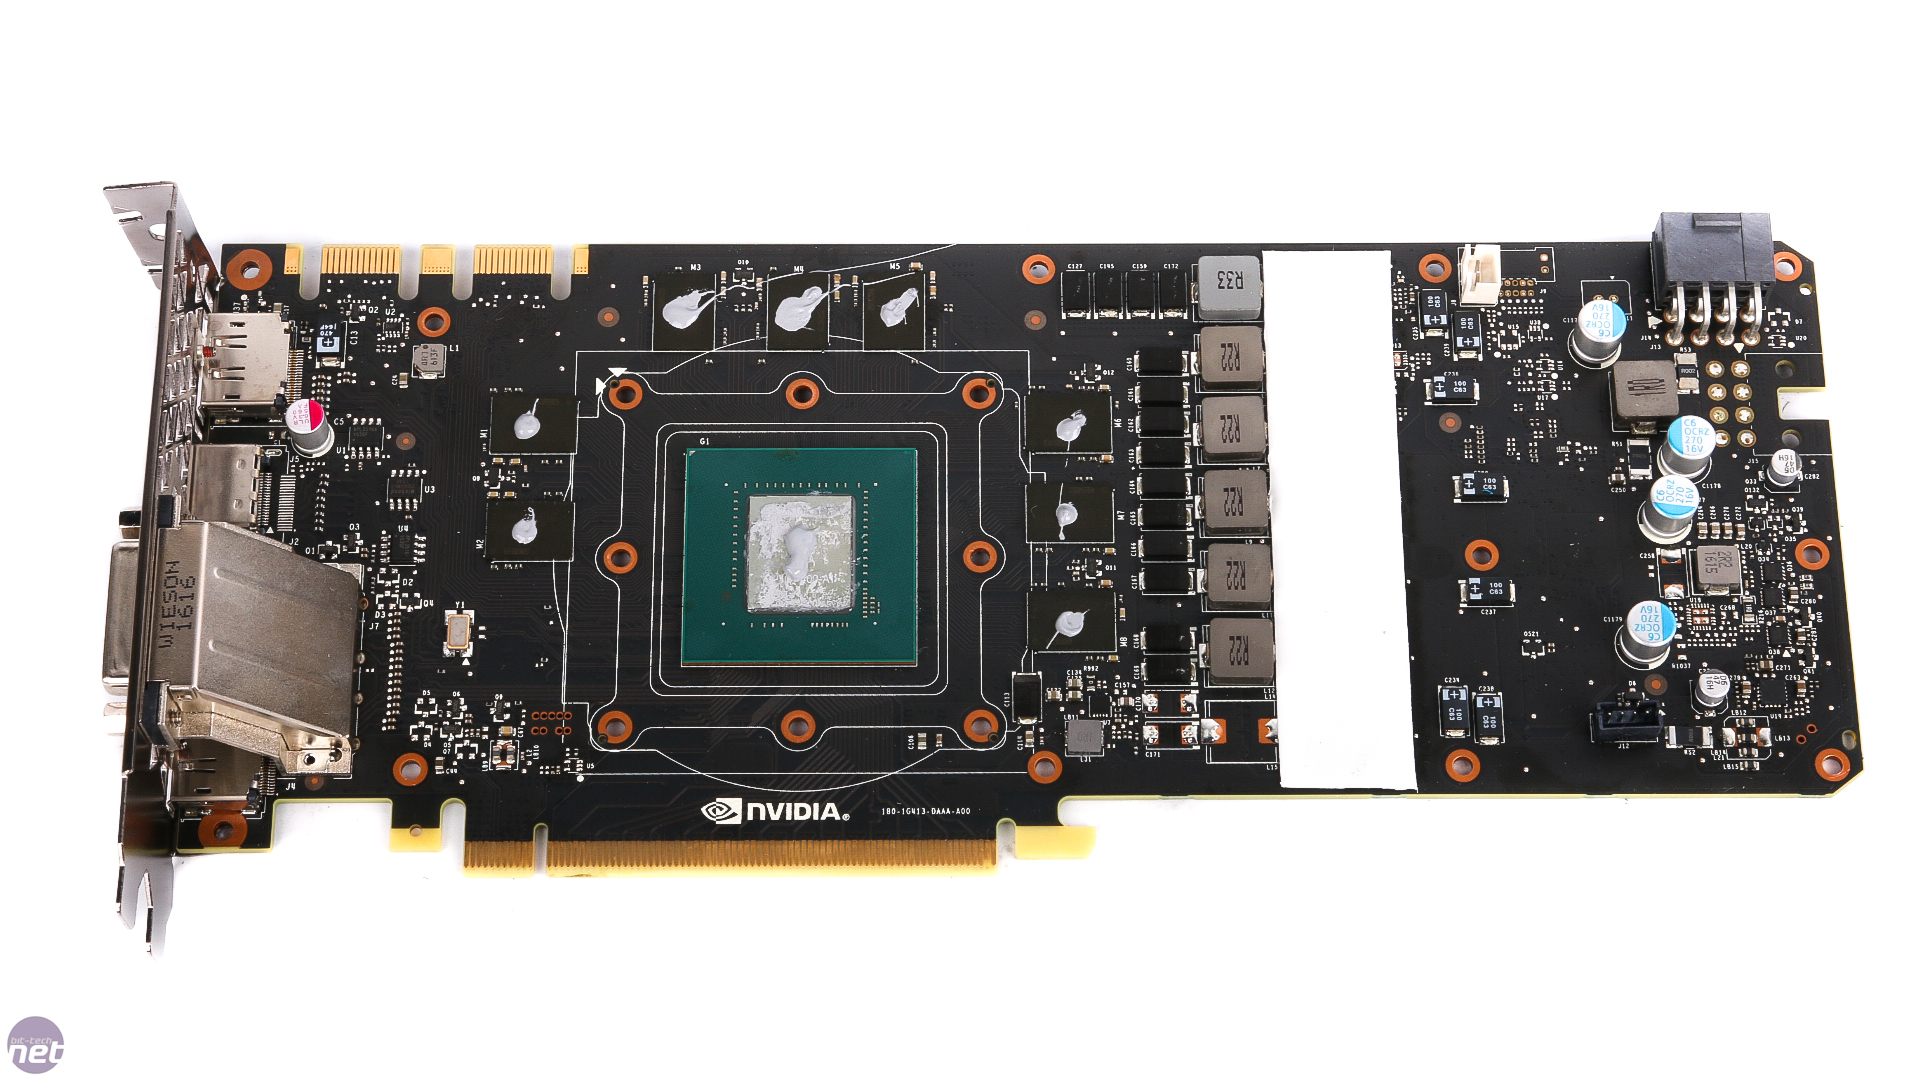
Click to enlarge
The water block will generally require a mixture of thermal paste and thermal pads and in the case of the Aqua Computer Kryogenics block for the GTX 1080, the RAM modules and core need the paste and the VRMs need the pads - all of which are included. Test fit the water block first to make sure it fits.
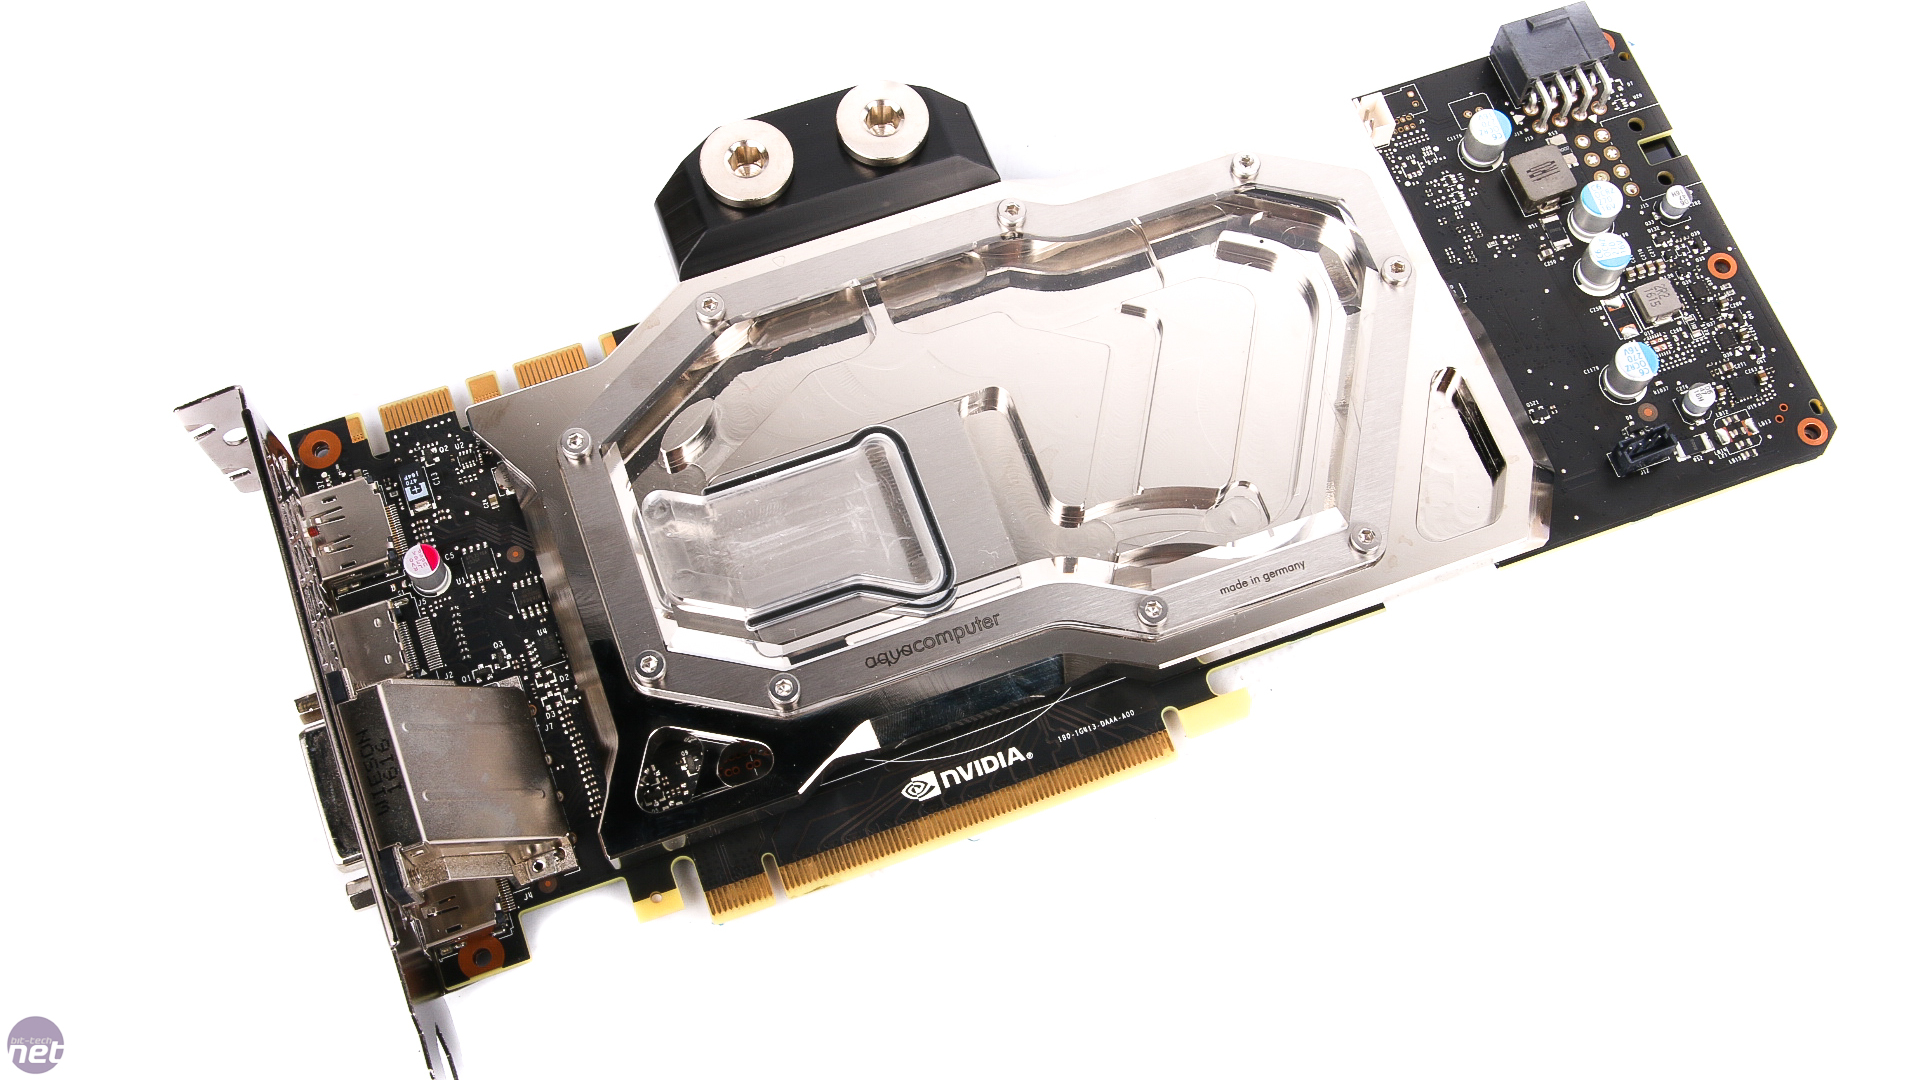
Click to enlarge
From the rear, use the included screws to secure the block to the PCB. The stock GTX 1080 backplate is not compatible with the Kryogenics water block, so if you want a backplate, you'll need to invest in the one dedicated to your particular water block. Tighten the screws so they're finger-tight and give the awesome contraption a once over to make sure the PCB isn't bending and all the RAM modules and core are making contact. You can even detach the cooler to make sure the thermal pads and paste have indentation and good spreading if you're not sure.
RELATED ARTICLES


MSI MPG Velox 100R Chassis Review
October 14 2021 | 15:04


Want to comment? Please log in.